In this era of artificial intelligence and cloud computing, having access to reliable and cost-effective cloud resources is essential. Most of the major cloud providers offer free tiers, but Oracle Cloud stands out with its Always Free Server offering. It provides a reasonably powerful virtual machine at no cost. You can try new AI agents and tools on this server without installing anything on your local machine. The specific resource that we are going to use is the “Compute” service.
Creating an Oracle Cloud Account #
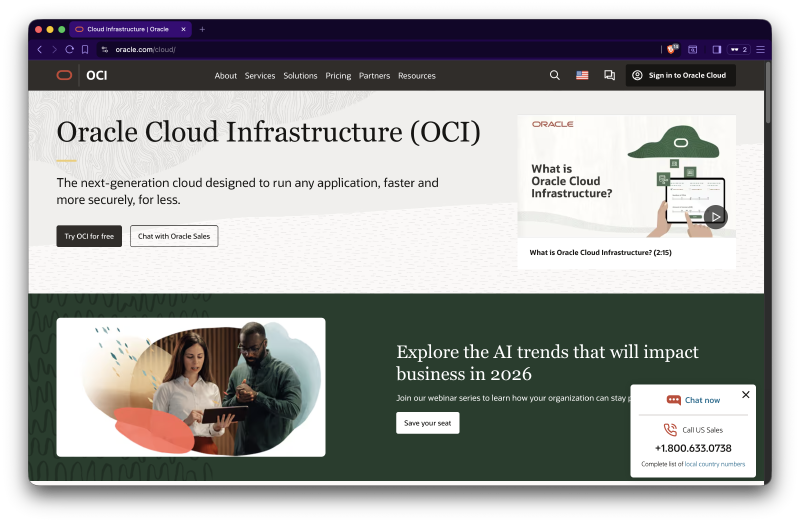
You can visit the Oracle Cloud website here to create a free account. Then press “Try OCI for free” button.
In the next screen, you will be able to see that Oracle Cloud offers a free tier with $300 credit for 30 days and Always Free resources. You can use that 300$ credit to try out paid services, but we will focus on the Always Free resources in this guide. Click on the “Start for free” button to proceed.
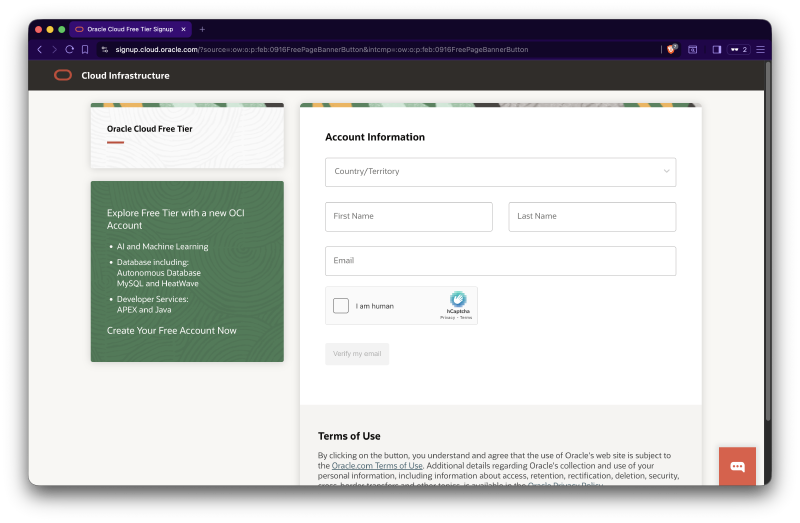
You will need to provide your region, email, phone number, and some personal information to create the account. Additionally, Oracle Cloud requires a credit or debit card for verification purposes. However, you will not be charged unless you explicitly upgrade to a paid account. It also asks a name for your tenancy, which is your account name in Oracle Cloud.
After completing the registration process, you will receive a confirmation email. Follow the instructions in the email to verify your account and complete the setup. I would suggest you to enable 2FA for better security.
Logging into Oracle Cloud Console #
After setting up your account, you can log in to the Oracle Cloud Console by visiting the previous link and clicking on the “Sign In to Oracle Cloud” button. You will be redirected to a login page where you need to enter the tenancy name you provided during registration.
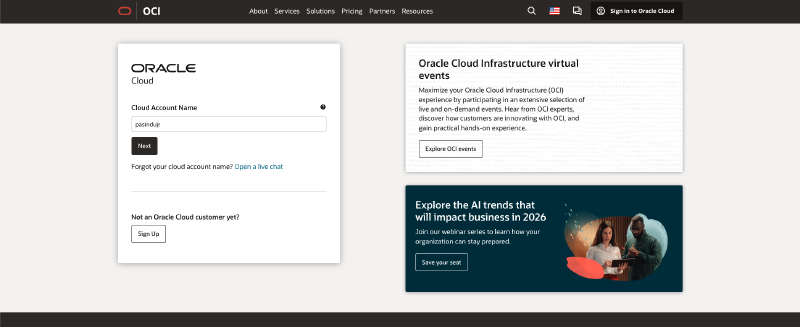
After entering the tenancy name, you will be redirected to the main login page where you can enter your email and password to access the Oracle Cloud Console. Then you will prompted to enter the 2FA code if you have enabled it. Then you will be logged into the Oracle Cloud Console.
Creating an Always Free Server #
Click the hamburger menu (three horizontal lines) on the top left corner to open the navigation menu. Then click on “Compute” and select “Instances” from the menu. It will take you to the Instances page where you can create and manage your virtual machines. Currently, there are no instances created.

You can read more about Always Free resources here. If you visit the Compute section on that page, you will see that Oracle Cloud offers 2 Always Free VMs, one is an AMD based VM and the other is an ARM based VM.
Click on the “Create Instance” button to start the instance creation process.
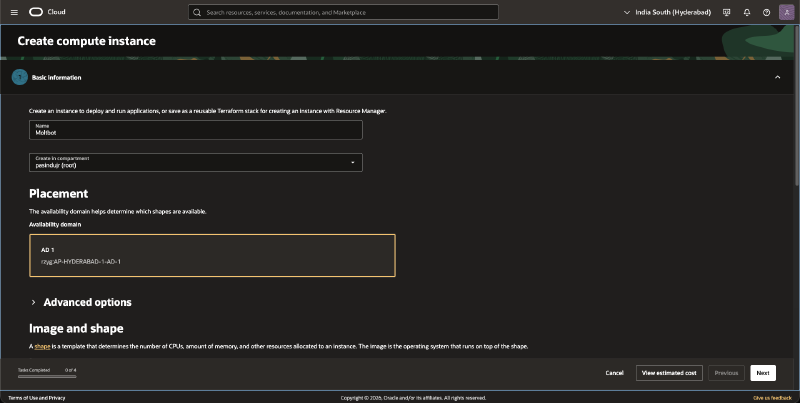
In the Name field, provide a name for your Server instance. Then select the Compartment where you want to create the instance. You can choose the tenancy compartment or create a new one.
The Image and shape section is what we need to focus on. In the time of writing this article, Oracle Linux 9 is the default selected image. You can click on the Change Image button to select a different operating system. I would suggest you to use Ubuntu and version 22.04.

You can also change the shape of the Server by clicking on the Change shape button. But make sure to select one of the Always Free shapes. A always free shape has a small “Always Free-Eligible” tag next to it. As default, the VM.Standard.E2.1.Micro shape is selected. It provides 1 OCPU and 1 GB memory.
Then in the Networking section, you can choose the Virtual Cloud Network (VCN) and Subnet for your instance. You can use the default VCN and Subnet created by Oracle Cloud or create a new one. Make sure to enable Assign a public IPv4 address option so that you can access the Server from the internet. In the end of the section, you can also add SSH keys for secure access to the Server. You can generate a new SSH key pair or use an existing one.
In the Storage section, you can configure the boot volume size and type for your instance. The default boot volume size is 50 GB, which is sufficient for most use cases. In the free tier, you get 200 GB of block volume storage.
Then you can review the instance configuration and click on the “Create” button to create the Server instance.
Logging into the Server #
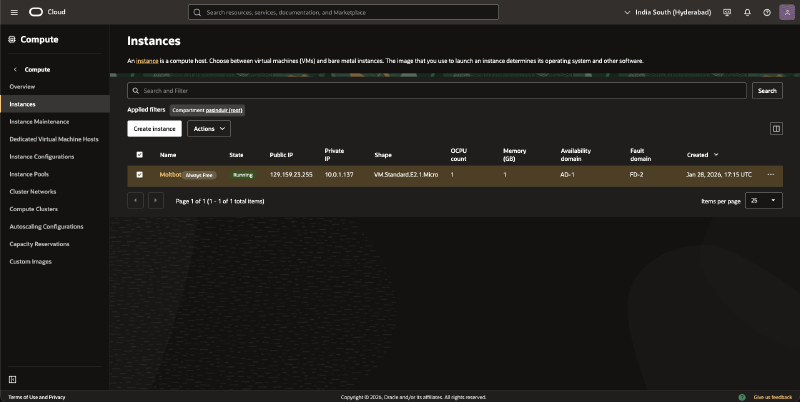
After couple of minutes, your Server instance will be created and you will see it in the Instances page. You will see a Always Free tag next to the instance name. To SSH into the Server, you need to copy the public IP address of the instance. Copy it from the instance details page.
Then go to your terminal and first you need to set the correct permissions for your private SSH key file. I have mine in the Documents folder.
cd Documents/moltbot
sudo chmod 400 ssh-key-2026-01-28.key
Then you can use the ssh command to log into the Server. The default username for Ubuntu is ubuntu.
ssh -i ssh-key-2026-01-28.key ubuntu@<PUBLIC_IP_ADDRESS>Replace <PUBLIC_IP_ADDRESS> with the actual public IP address of your Server instance. It will prompt you to confirm the authenticity of the host. Type yes and press Enter. You will be logged into the Server instance.

The first thing you should do after logging into the Server for the first time is to update the package lists and upgrade the installed packages to their latest versions. You can do this by running the following commands:
sudo apt update
sudo apt upgrade -y
In the next tutorial, I will setup this viral personal assistant agent called MoltBot (Previously known as ClawdBot) on this Server. It will allow you to interact with various services and do tasks behalf of you using natural language commands.